System Center Virtual Machine manager ships with an addon called the Self-Service Portal. The goal of the Self-Service portal is to provide a hassle free method for end users to create and manage their own virtual machines in Hyper-V. Below are the instructions and screenshots an end user would use to create a virtual machine in v1 of the Self-Service portal that shipped with System Center Virtual Machine Manager 2008 R2.
These steps assume that you have Self-Service portal running in your environment and that you have already created SCVMM templates for users to deploy.
How to Create a virtual machine in the Self-Service Portal
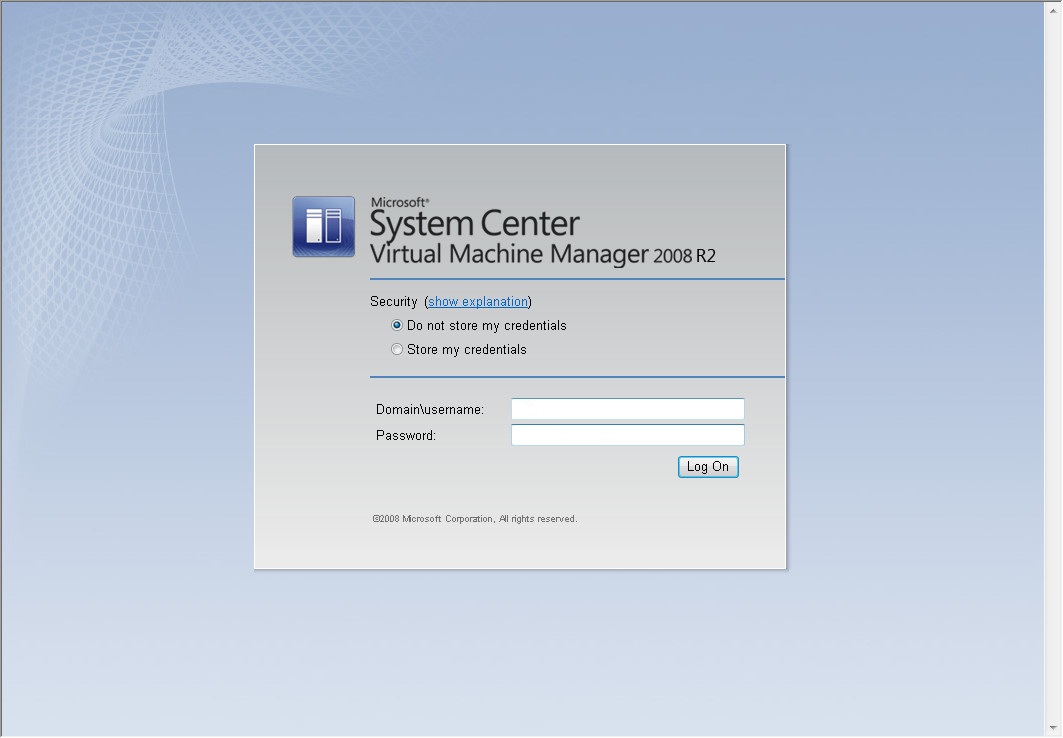
- Log in to the Self-Service Portal.
- Under the Create menu, click New Computer.
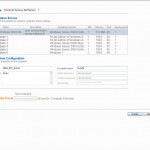
- Under the Creation Source, choose a Template from the available list.
- Enter the display name and description of the virtual machine.
- Enter the computer name (this will be the name referenced on the network). Be wary of adding a trialing space in the computer name or it will fail to create.
- Click create, if successful a pop up should indicate the virtual machine was created successfully.
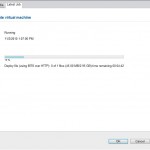
- Wait for the virtual machine to be deployed to the host. You can view the estimated completion time from the properties -> latest job tab.
- Connect to the virtual machine.
Screenshots
Additional Tips
- Configure your template or use group policy to make your virtual machines accessible over RDP. The connection method used in the Self-Service Portal is difficult to use. It requires a Active X control be installed on the client and is genrally inferior to RDP (fixed screen size, no copy paste, etc..).
- Use a naming convention to track virtual machines created (i.e. hv-xx) through the Self-Service Portal. Internally, we created a small ASP.NET web application that will automatically generate a virtual machine name for users when they click a button.
Share the post "Creating a Virtual Machine in SCVMM Self-Service Portal v1"


 Follow