[Image via Vogue.com]
Up until third grade, my mother called all my sartorial shots, meaning that my wardrobe consisted almost exclusively of striped Hanna Anderson dresses, navy headbands that made my temples ache, patterned tights and mary janes. (And tutus. I loved tutus with an ardent fervor that was never reciprocated.) It was a life of rigid sameness whose boundaries I suddenly became aware of the day my friend Abby’s mom took us to the nearby shopping mall. In the span of maybe ten minutes, I recognized, located and broke those boundaries with the help of a bumblebee yellow pleather vest from Limited Too.
Today, I’m going to begin to show you how find your bumblebee yellow pleather vest in SharePoint. Like my mom-curated wardrobe, an out-of-the-box SharePoint site is barebones, and its bones are even more boring than Hanna Anderson dresses. There are three main routes through which we can give it a varying amount of pizzazz: the browser route, the supported-tools route and the custom code route. We’re going to start out with an examination of route 1.
Customization through the SharePoint browser
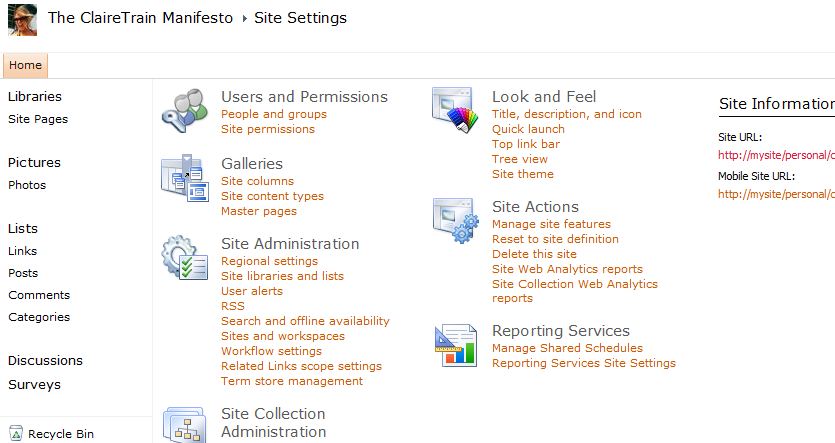
Site Settings: The site settings page lists all the areas of your site that can be administered and edited within the browser, subdivided into Users and Permissions, Galleries, Site Admin, Site Collection Admin, Look and Feel, Site Actions and Reporting Services.
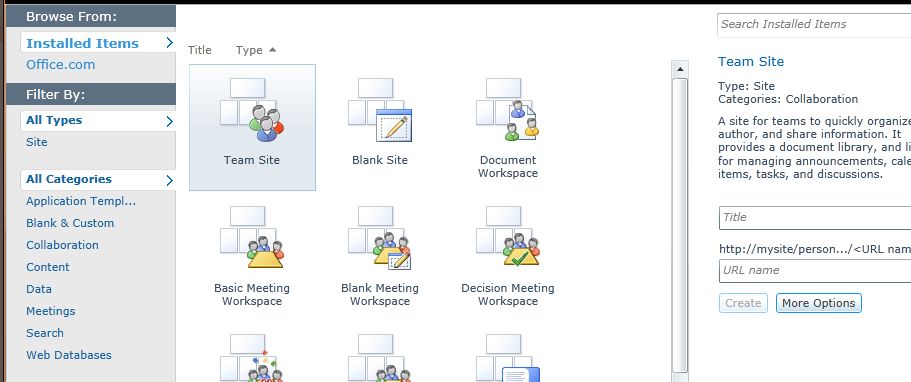
Templates: The template is the actual skeleton; the theme is its skin. Any time you create a new site, you’ll do it by selecting a template, or specifying which bones you’d like to appear. (No coccyx for me, thanks!) You select your template by going to site actions -> new site -> and choosing either a predefined or blank site, then giving it a title and url name. If you choose a blank site, you fill it up with web parts; choose any other site and you can add and delete web parts at will.
- The ribbon: You know what the ribbon is, right? It’s the menu bar with all those editing options that sits near the top of your site. Just using your ribbon, you can:
a. Add new page titles and body text
b. Add and delete web parts
c. Upload photos
d. Modify the “Getting Started” links
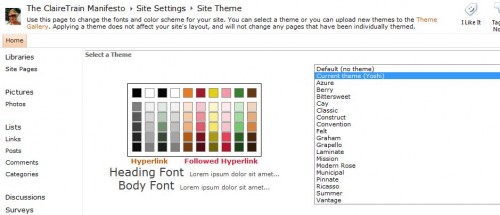
Themes: By “theme,” MSFT essentially means “fonts and color scheme.” There are a slew of pre-installed themes at your disposal within your site collection. Choose one by going to site actions -> site settings -> look and feel -> site theme -> apply.
Traveling through the above routes enables you to configure your skeleton and dress him up–but your options are limited to what’s already been created. If you want a rib/knuckle hybrid or some fancy couture, you’ll need to take one of the other two routes, which we shall explore in future posts.
Share the post "NEUGS Part 9: Dress Your SharePoint Site in Corduroy and Denim"


 Follow