
Pitan here! In Part 3 of my PowerPivot blog series, I cover how to add slicers to a PowerPivot report.
This post covers how to format slicers in Excel 2010 – in particular, how to create a custom slicer style that can be applied to multiple slicers.
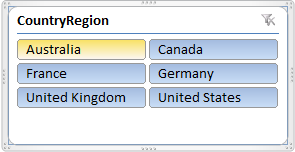
The first step is to select the slicer to activate Slice Tools tab in the ribbon.

There are default styles available, but in this case we want to make a customized slicer style. You can create a new style from scratch:

But you may find it easier to clone the style and then modify the style properties, which is what we will do in this example. Here is the slicer with the unmodified clone of the style:
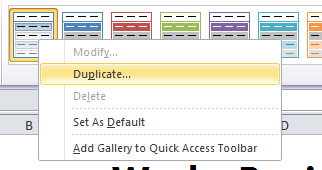
Right-click on the style that you want to clone and modify. Select Duplicate.
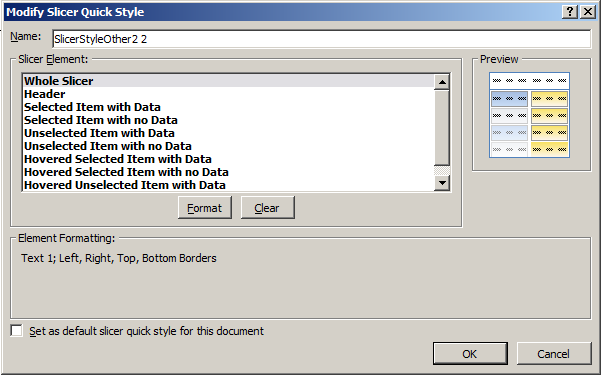
You will reach the Modify Slicer Quick Style dialog:
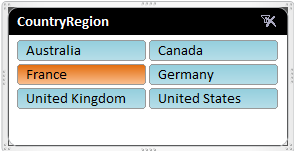
Before we get to modifying the slicer style, let’s take a minute to discuss the different parts of a slicer:
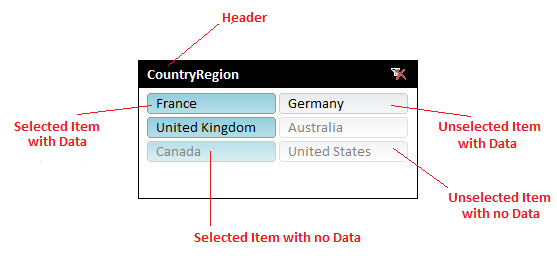
Slicers always display all the values available from the field, regardless of whether there is data available for that value. When modifying slicer styles, you can set custom formatting for whether a slicer has associated data or not.
Starting with the “Whole Slicer”: you can set properties that…drum roll please…apply to the whole slicer. You can set font and fill properties, but for this example I just changed the border color to be black.
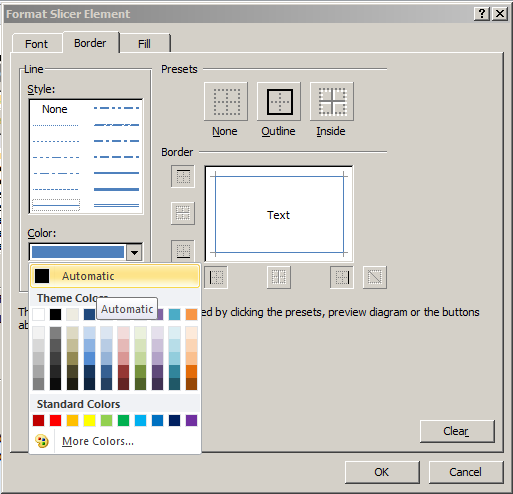
Next I changed the header to have a black background and bold white font. These formatting options are pretty much the same as formatting for basic cells in a worksheet.
For Selected Item with Data, I changed the gradient from more of a powder blue to an aquamarine.
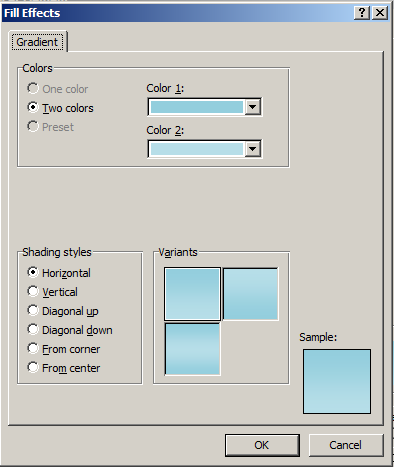
I did the same for Selected Item with no Data, but I used lighter colors for the gradient. I left the Unselected Item with/with no data colors the same, since white with black or gray seemed fine.
Slicers also can display custom formats when a user hovers over a particular value. Again, the formatting can change depending on if the slicer item has associated data or not. The slicer style I cloned used consistent formatting for hovering over all items.
I changed the hover colors to finish off the style:

Then I applied it to my slicer.
And that’s how it’s done!
Back to PowerPivot Part 3: Slicers
Read the PowerPivot series from the beginning
Share the post "PowerPivot Side Quest: How to Format a Slicer"
 Follow