In Part 1, I introduced you to the main capabilities of SharePoint, and the parts through which these capabilities are manifested. Now, as promised, I’m going to walk you through some of the basic end-user tasks: creating new sites, uploading documents to a library and editing them, and adding items to a list. Why these tasks? Because, essentially, they are the gist of what you will need to do on SharePoint.
1. How to create a new site
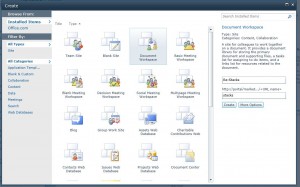
SharePoint, like honeybees and the British, operates on a hierarchical system. At the top of this hierarchy is the portal, which is the container that houses all your organizations’ sites, subsites, pages, mysites etc… Assuming you have a portal, please navigate to it (http://portal). Good. Now across the top navigation bar you’ll see links to whatever sites your org already has going. These are team sites. Click on one of them (in my case, it’s “Marketing”). Now, see that button in the top lefthand corner that says “site actions?” Click it and from the drop-down, select “create new site.” Now you’ll get a pop-up menu with all the different site templates you have at your disposal. Decide which one you need, and give it a title and url, then click create. I’m going to go with “document workspace.”
2. How to upload a document/spreadsheet/ppt etc to a SharePoint library
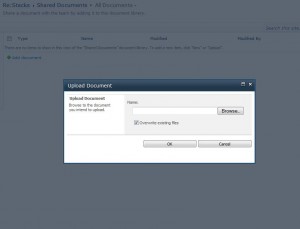
In case I forgot to mention this, documents are stored in libraries. All files are stored in libraries. Navigate over to your new site or any other site of your choosing that has a document library or the ability to have a document library. Click on the lefthand link that says “libraries.” It will be empty save for “Shared Documents.” “Shared Documents” is your default library, so that is where we’re going to upload to today. Click the link and then click “add document.” You’ll be guided through a routine doc upload process.
3. How to edit a document in SharePoint
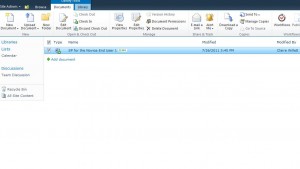
If you want to edit a document in SharePoint, just click it and change the prompt toggle form “read only” to edit. If you want to make sure nobody else makes edits while you have it, check out the document first. You do this by clicking the check box next to your document and then choosing “check out” from the ribbon options above. After you’re done editing the doc, save it and it will ask you if you want to check it back in, which you do.
4. How to add an item to a list
Again, in your new site or any other site with lists, click “lists” and then select one of the available lists. I’m going with “tasks.” Because I’ve just created this new site, there are no tasks yet. Click “add new item.” A dialog box will come up asking you to at the very least give your task a name. Do so, and then assign it to someone. You can also give it a priority level, a predecessor (eg a task that needs to be completed first), a due date, a status and a % complete. When you assign the task to someone else, they’ll get an email in outlook, or they should if your SharePoint has been properly configured by someone other than yourself.
Done? Congratulations! You now know the nuts of your SharePoint bolts. Stay tuned for Part 3, wherein we’ll take on customization.
Share the post "NEUGS Part 2: Whatcha Gonna Do with All That Junk"


 Follow